Avr Isp Mkii Driver For Mac
The next image shows us my connection on a breadboard, the red board is simply my power supply that's draining power from my computer USB, you can also connect AA batteries in series in order to get 3V. Power supply is 5V, most AVR 8-bit operate at 1.8 - 5.5V range, but it's always a good idea to check out datasheet. I connected one 10k Ohm resistor to pin 1 and to 5V line, this resistor must always be on RESET pin even while not programming mode. We can observe I left six wires connected to nothing, this six wires will be connected to the AVRISP mkII (connect wires or make a little board). After a couple of seconds next window should appear.
Sep 16, 2010 Continuing on the theme of my last post, here are libusb-win32 drivers for the Atmel AVRISP mkII.Unlike the Atmel-supplied drivers, these support avrdude, and as a bonus.
On Device and Signature Bytes we must choose our microcontroller (Attiny13A on this example). After that we must click on Settings button and select 125Khz ISP Frequency. In order to program with AVRISP mkII, programmer must be operating at: (FCPU) / 4, minimum, which is in my case 1.2Mhz/4 = 300 khz, however it's more recommended programing at: (FCPU)/8, so going safe would be to operate at 150khz, better set it to 125 khz because it's one standard frequency of our programmer. Now we must click on Read Signature, it should appear something like the picture above, no errors, only OK! On the console, and a message above some hexadecimal numbers saying 'Signature matches selected device'. Here we may find many errors ocurring.
One we mentioned earlier(most common) is bad wiring, check programmer's leds. Bad frequency setting, try lowering frequency. Wrong device selected on combobox. The worst thing here would be to discover that our microcontroller is burned.Please refere to troubleshooting of this.
|
This guide will direct a user through configuring a new Arduino UNO or Mega2560 as a class-compliant MIDI device. There are several different tools and methods for performing many of these steps, but this guide is an attempt to outline one of the easiest ways.For an excellent guide on the changes in the 2010+ Arduino redesign which makes this project possible, see http://www.ladyada.net/library/arduino/unofaq.html.
Many of the test steps are optional for users who are familiar with reprogramming AVRs with an ISP & avrdude.
The primary Arduino Atmega328 chip cannot be flashed while an alternate firmware (such as HIDUINO) is loaded on the 8u2 chip. To this end, many users will find themselves flashing the 8u2 between a HIDUINO firmware and the default Arduino usbserial firmware quite often, since Arduino sketches need to be loaded through the virtual serial port. This guide uses an ISP to flash the 8u2.
Unimportant side-note that affects very few users: HIDUINO firmwares are compiled without the DFU bootloader. Once any HIDUINO firmware is flashed onto the 8u2, the ability to use any DFU functionality is temporarily lost. To restore, simply re-flash the 8u2 with the DFU firmware bundled with Arduino.
- Windows: WinAVR (XP+)
- Mac: CrossPack (OSX 10.6+)
- AVR ISP (or other compatible ISP)
- Optional (If compiling from scratch): LUFA 101122
- Optional (Pre-2011 Arduino models): Header Pins
- Optional (Pre-2011 Arduino models): Basic soldering ability
Note: Most Arduinos produced in 2011 come with the ISP headers presoldered, making this step unnecessary. To install the header pins, locate the block of six solder-filled holes near the USB jack (same location for both the Mega2560 and Uno). You must use a solder-sucker or other device to remove the solder. Once finished, re-solder a standard 6-pin header in place.
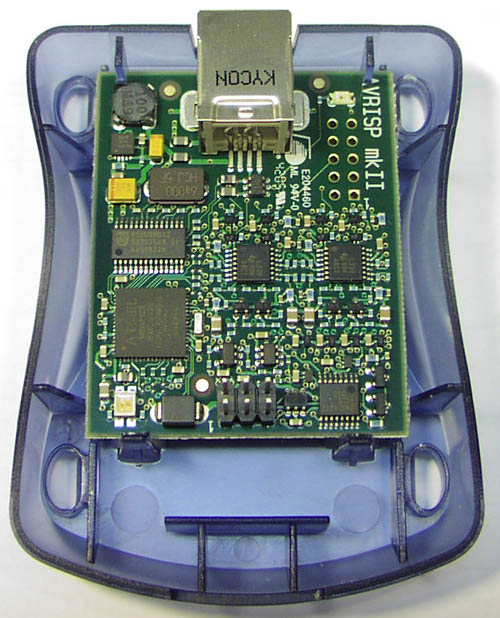
We used the Atmel AVRISP MKII programmer.
Windows
The AVRISP2 drivers are included in the WinAVR package -- avrdude will _only_ work with these drivers. These drivers are found within a libusb directory in the WinAVR install path. Windows 7 x64 users might go through driver-hell during this process. This guide helps a lot.
Mac
CrossPack comes bundled with drivers for the Atmel AVRISP2. Once installed, it's pretty much plug-and-play. Development with CrossPack was tested on OSX 10.6 Snow Leopard.
Both Platforms
Make sure both the Arduino and ISP are powered over USB, otherwise the flashing process will not work. The Arduino board comes printed with a very small dot indicating the directionality of the ISP cable. The AVRISP will blink orange if the cable orientation is wrong and green if correct; other programmers may not provide this feedback!
The Arduino source download comes with the firmware preloaded loaded on the ATmega 8u2 chip. It’s located in
Look through the README.txt file located in this directory. It mentions that that the 8u2 is preloaded with the DFU bootloader and virtual serial port firmware. The file in this directory is a combined version of both, ready to flash. The readme contains the directions for flashing the 8u2 with an ISP:
Navigate to the above directory and execute the command. Assuming the ISP cable is connected and the firmware can be found in the same directory, avrdude will take about 4-5 seconds to flash the 8u2. This test will be successful if it is still possible to upload a sketch to the board via the Arduino IDE. Good luck!
Creative x-fi titanium drivers. Alongside them are creative sound blaster x-fi. Headphones Creative’s new Super X-Fi audio tech is frigging mind-blowing The company known for Soundblaster creative sound blaster x-fi has a new killer product, and you’ll probably want one siund. I was then told to put on a headset, and Creative repeated the video. Good value for money. This download is a driver providing Microsoft® Windows® support for Creative Sound Blaster® X-Fi™ Titanium series of audio devices. This software includes support for Windows 8.1 (32-bit and 64-bit). For more details, read the rest of this web release note. Show Details ». This download is a driver providing Microsoft® Windows® support for Creative Sound Blaster® X-Fi™ Titanium series of audio devices. This software includes support for Windows 8.1 (32-bit and 64-bit). For more details, read the rest of this web release note. This download is a driver providing Microsoft® Windows® support for Creative Sound Blaster® X-Fi™ Titanium HD. This software includes support for Windows 8.1 (32-bit and 64-bit). For more details, read the rest of this web release note. Added Features or Enhancements: Multiple fixes that improve the driver's overall stability and performance.
For most users, compiling HIDUINO is unnecessary. One of the most useful reasons for doing so is to rename a HIDUINO device. The precompiled HIDUINO firmwares enumerate to a computer as 'HIDUINO.' Compiling from scratch lets users rename their devices by changing a single string located in the Descriptors.c file, located on line 266 (or close by).
Make sure LUFA 101122 has been downloaded. Drop the entire LUFA directory in the HIDUINO folder
The HIDUINO firmwares are located in
Take the entire project folder and move it into
This is necessary for the makefile to find LUFA.
Once a HIDUINO project directory (in this case HIDUINO_MIDI) has been moved into the LUFA Projects directory, navigate to that folder and execute
Both WinAVR and CrossPack come with AVR-GCC; the entire project should compile in 5-10 seconds. Once complete, it will output as an intel-formatted .hex, ready to flash with avrdude.
Since the Arduino will no doubt be interfacing with your own electronics/sensors/robots, you'll want to flash your Arduino sketch first. For the primary Arduino ATmega328 chip to communicate internally with the ATmega 8u2, we use old-school serial-based MIDI. This is done through the most popular Arduino MIDI library (listed at the top of the guide).
Once the Arduino MIDI library is downloaded, drop the MIDI folder into your Arduinolibraries folder (located in Documents on OSX or My Documents on Windows) -- you may have to create the libraries directory first. Then add it to your sketch using the menu in the Arduino IDE. Arduino will only see new libraries after it has been restarted. See the FAQ for a question related to the MIDI-thru functionality of the MIDI library.
See the examples for a better idea.
As any alternate firmware running on the 8u2 removes the ability to contact the primary ATmega 328 chip using a virtual serial port, you will find yourself re-flashing the 8u2 with the default usbserial firmware and HIDUINO firmwares quite often during development.
Some people find it easier to burn Arduino sketches using an ISP as well, instead of switching between HIDUINO and usbserial. Doing so is incredibly easy and is documented on the Arduino website here.
Radeon software. The file
has several example commands for flashing HIDUINO using an AVRISP MkII (or similar) programmer. The pre-compiled firmwares are located in
and are ready to use out of the box. In the case that you compiled a HIDUINO firmware from scratch, you'll simply navigate to the project directory and use that file as the .hex file to flash.
Congratulations! If all went well, you should have a fully class-compliant MIDI device via Arduino. Open your favorite music software and have fun.
Don't forget, in order to re-program Arduino sketches you will need to switch back to the default usbserial firmware.